In this tutorial, we will learn about sqs producer in spring boot
AWS offers a Queue data structure with SQS products to produce and consume messages from the queue
SQS stands for Simple Queue Service
Create a spring boot project using spring boot initializr
https://start.spring.io/
Here I am using java 8 with maven.
Prerequisites
- Queue url
- access key
- secret key id
- SQS region
Maven dependency
Add the below dependency in your pom.xml
<dependency>
    <groupId>org.springframework.cloud</groupId>
    <artifactId>spring-cloud-starter-aws-messaging</artifactId>
</dependency>
SQS Config
We need to configure our spring boot application for the SQS producer.
In this class, you have to provide access key id and secret key, and region
Create a new class SQSConfig.java and the below code
@Configuration
public class SQSConfig {


    @Value("${cloud.aws.credentials.accessKeyId}")
    private String accessKey;

    @Value("${cloud.aws.credentials.secretKey}")
    private String secretKey;

    @Bean
    public QueueMessagingTemplate queueMessagingTemplate() {
        return new QueueMessagingTemplate(amazonSQSAsync());
    }

    @Bean
    @Primary
    public AmazonSQSAsync amazonSQSAsync() {
        return AmazonSQSAsyncClientBuilder.standard().withRegion(Regions.AP_SOUTH_1)
                .withCredentials(new AWSStaticCredentialsProvider(new BasicAWSCredentials(accessKey, secretKey)))
                .build();
    }
}
Message Producer
With the above configuration, we can start to publish the message to SQS using convertAndSend Method
@Component
public class SQSProducer {
@Autowired
private QueueMessagingTemplate queueMessagingTemplate;
@Value("${cloud.aws.credentials.end-point}")
private String endpoint;
public String sendMessage(Pojo message) {
queueMessagingTemplate.convertAndSend(endpoint,message);
return "Successfully sent message to SQS";
}
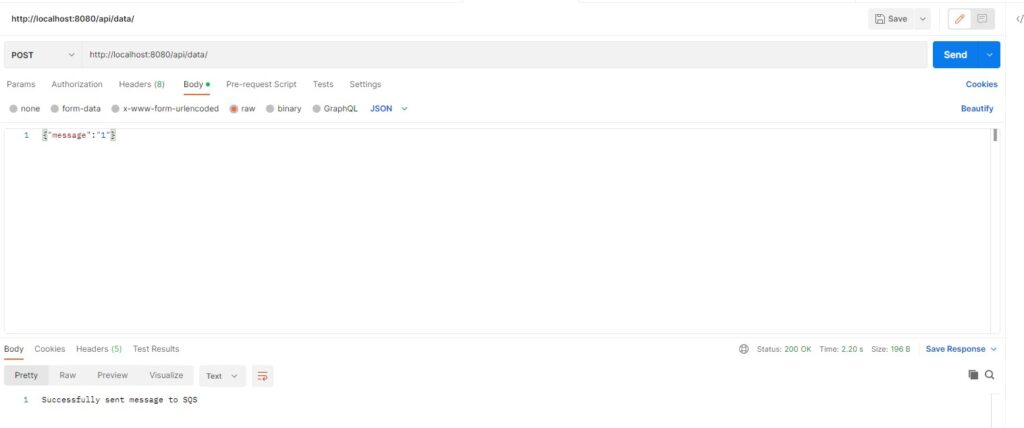
}Now you can create one controller and send the message from rest endpoint
@RestController
@RequestMapping("/api/data/")
public class ProducerController {

    @Autowired
    private SQSProducer publisher;

    @PostMapping
    public String sendMessage(@RequestBody Pojo message) {
        return publisher.sendMessage(message);
    }
}
application.properties
cloud.aws.credentials.accessKeyId=****
cloud.aws.credentials.secretKey=*****
cloud.aws.credentials.end-point=https://sqs.ap-south-1.amazonaws.com/978751824592/producer
cloud.aws.region.static.auto=false
cloud.aws.stack.auto=false
If you are facing network issue, add the below snipped in the spring boot main class
@SpringBootApplication(
exclude = {
org.springframework.cloud.aws.autoconfigure.context.ContextInstanceDataAutoConfiguration.class,
org.springframework.cloud.aws.autoconfigure.context.ContextStackAutoConfiguration.class,
org.springframework.cloud.aws.autoconfigure.context.ContextRegionProviderAutoConfiguration.class
}
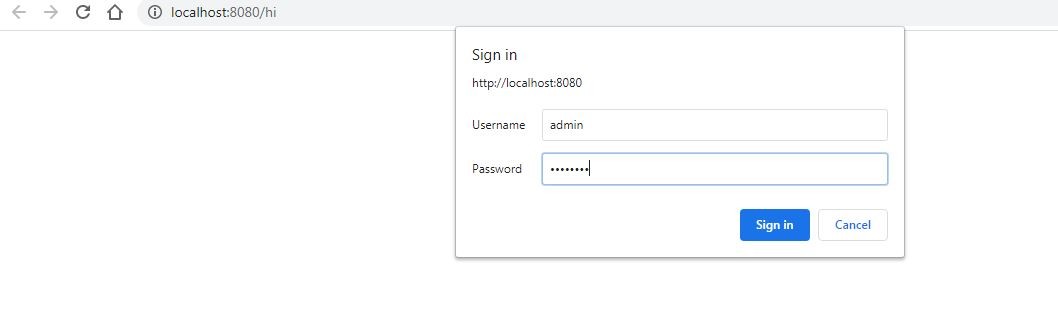
)Now you can hit the URL from the postman and you can see the message in SQS AWS console
To Create an access key id and secret key refer to this
https://beginnersbug.com/create-access-key-in-aws-console/