In this tutorial, we will learn about sqs consumer in spring boot
AWS offers a Queue data structure with SQS products to produce and consume messages from the queue
SQS stands for Simple Queue Service
Create a spring boot project using spring boot initializr
https://start.spring.io/
Here I am using java 8 with maven.
Prerequisites
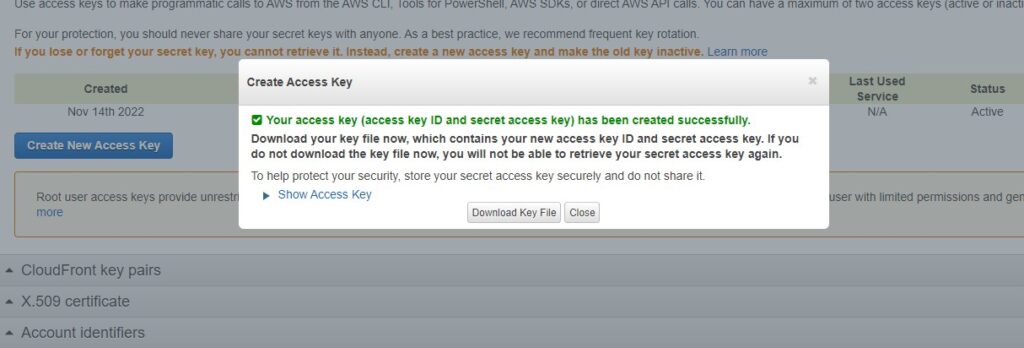
- Queue url
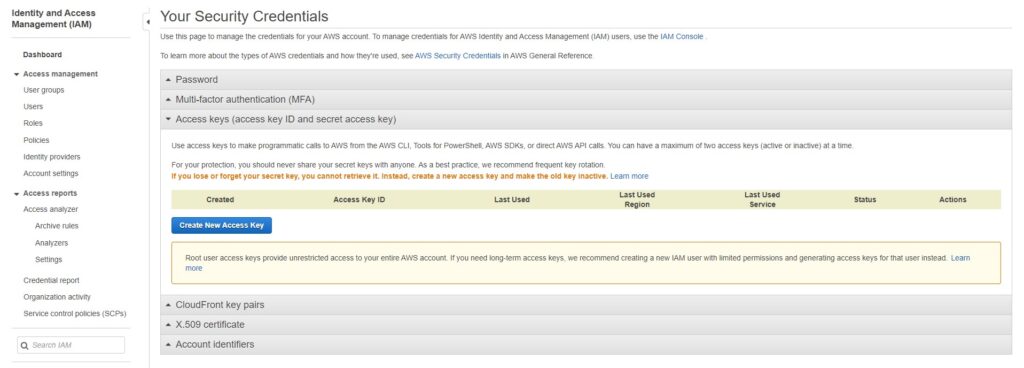
- access key
- secret key id
- SQS region
Dependency
<dependency>
   <groupId>org.springframework.cloud</groupId>
   <artifactId>spring-cloud-aws-messaging</artifactId>
   <version>2.2.4.RELEASE</version>
</dependency>
SQS Config
We need to configure our spring boot application for the SQS producer.
In this class, you have to provide access key id and secret key, and region
Create a new class SQSConfig.java and the below code
import com.amazonaws.auth.AWSCredentialsProvider;
import com.amazonaws.auth.AWSStaticCredentialsProvider;
import com.amazonaws.auth.BasicAWSCredentials;
import com.amazonaws.auth.DefaultAWSCredentialsProviderChain;
import com.amazonaws.regions.Regions;
import com.amazonaws.services.sqs.AmazonSQSAsync;
import com.amazonaws.services.sqs.AmazonSQSAsyncClientBuilder;
import org.springframework.beans.factory.annotation.Value;
import org.springframework.cloud.aws.messaging.config.SimpleMessageListenerContainerFactory;
import org.springframework.cloud.aws.messaging.config.annotation.EnableSqs;
import org.springframework.cloud.aws.messaging.core.QueueMessagingTemplate;
import org.springframework.context.annotation.Bean;
import org.springframework.context.annotation.Configuration;
import org.springframework.context.annotation.Primary;
import org.springframework.core.task.AsyncTaskExecutor;
import org.springframework.scheduling.concurrent.ThreadPoolTaskExecutor;

@Configuration
@EnableSqs
public class SQSConfig {

    @Value("${cloud.aws.region:ap-south-1}")
    private String awsRegion;

    @Value("${cloud.aws.credentials.accessKeyId}")
    private String accessKey;

    @Value("${cloud.aws.credentials.secretKey}")
    private String secretKey;

    @Bean
    @Primary
    public AmazonSQSAsync amazonSQSAsync() {
        return AmazonSQSAsyncClientBuilder.standard()
                .withCredentials(new AWSStaticCredentialsProvider(new BasicAWSCredentials(accessKey, secretKey)))
                .withRegion(Regions.fromName(awsRegion))
                .build();
    }

    @Bean
    public AWSCredentialsProvider credentialsProvider() {
        return new DefaultAWSCredentialsProviderChain();
    }

    @Bean
    public QueueMessagingTemplate queueMessagingTemplate() {
        return new QueueMessagingTemplate(amazonSQSAsync());
    }


    @Bean
    public SimpleMessageListenerContainerFactory simpleMessageListenerContainerFactory(AmazonSQSAsync amazonSQSAsync) {
        SimpleMessageListenerContainerFactory factory = new SimpleMessageListenerContainerFactory();
        factory.setAmazonSqs(amazonSQSAsync);
        factory.setAutoStartup(true);
        factory.setMaxNumberOfMessages(10);
        factory.setTaskExecutor(createDefaultTaskExecutor());
        return factory;
    }

    protected AsyncTaskExecutor createDefaultTaskExecutor() {
        ThreadPoolTaskExecutor threadPoolTaskExecutor = new ThreadPoolTaskExecutor();
        threadPoolTaskExecutor.setThreadNamePrefix("SQSExecutor - ");
        threadPoolTaskExecutor.setCorePoolSize(100);
        threadPoolTaskExecutor.setMaxPoolSize(100);
        threadPoolTaskExecutor.setQueueCapacity(2);
        threadPoolTaskExecutor.afterPropertiesSet();
        return threadPoolTaskExecutor;
    }

}
Message Consumer
With the above configuration, we can start the consumer using @SqsListener
SQSListener
import org.springframework.cloud.aws.messaging.listener.SqsMessageDeletionPolicy;
import org.springframework.cloud.aws.messaging.listener.annotation.SqsListener;
import org.springframework.stereotype.Component;

@Component
public class SQSListener {

    @SqsListener(value = "${cloud.queue.name}", deletionPolicy = SqsMessageDeletionPolicy.ON_SUCCESS)
    public void processMessage(String message) {
        try {
            System.out.println("RECEIVED MESSAGE --> " + message);
        } catch (Exception e) {
            throw new RuntimeException("Cannot process message from SQS", e);
        }
    }
}
application.properties
cloud.aws.credentials.accessKeyId=***
cloud.aws.credentials.secretKey=***
cloud.queue.name=weather
Output
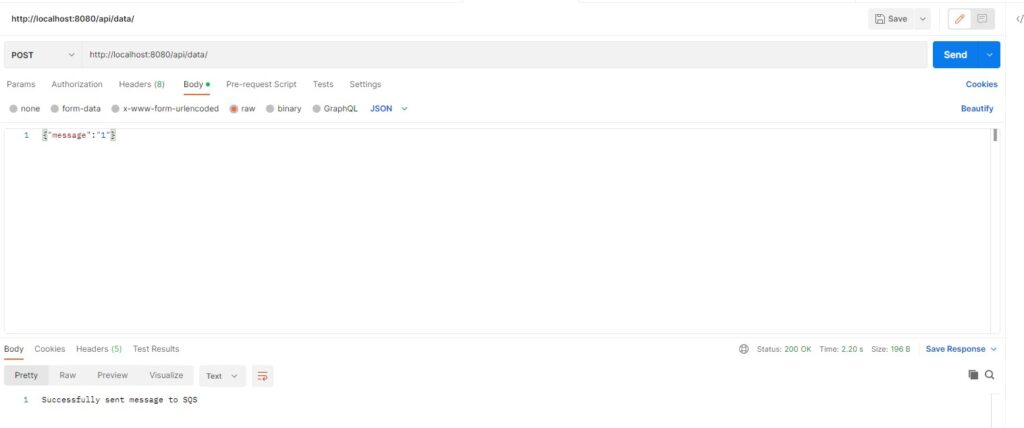
RECEIVED MESSAGE --> {"message":"1"}GitHub
https://github.com/rkumar9090/sqs-consumer